
Every page in iTRACK has the ability to be filtered, in order to narrow down your data to look at any of your groups of children (attributes). This is always located at the top of the page, and is split into 2 sections:
- Core Filters
- School Filters

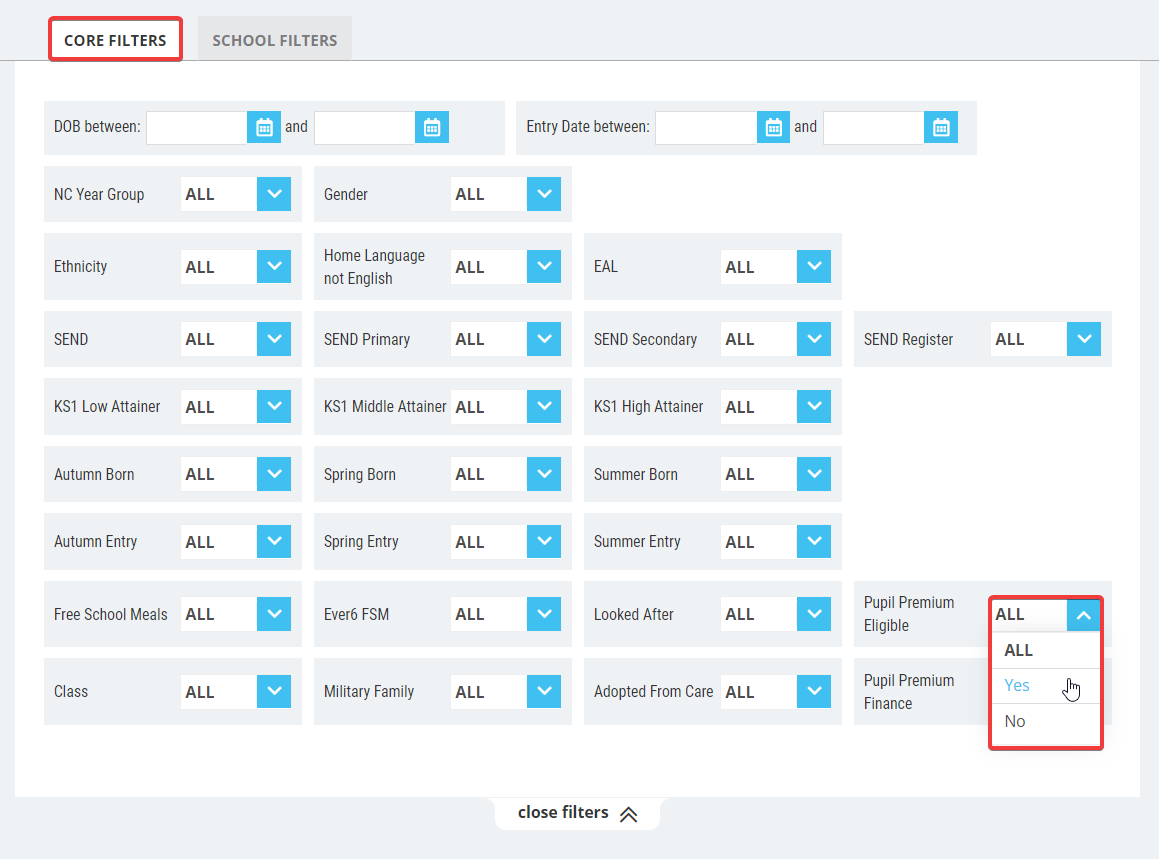
1) Core Filters
iTRACK has all of the default, nationally recognised filters/attributes built in. This information is taken directly from your school MIS, available under the Core Filters tab. Simply select the group(s) you wish to look at, and press 'Go'.
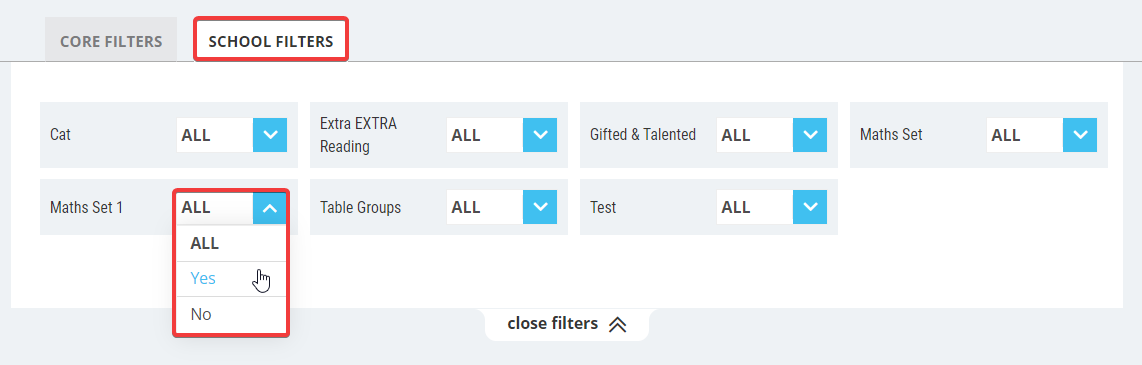
2) School/Custom Filters
You also have the ability to create your own filtering groups as a school, for any purpose. The instructions for how to do this can be found here. Once you have set up a group and added your children to it, simply find the School Filters tab, select the group you wish to view, and press 'Go'.
Removing Filters
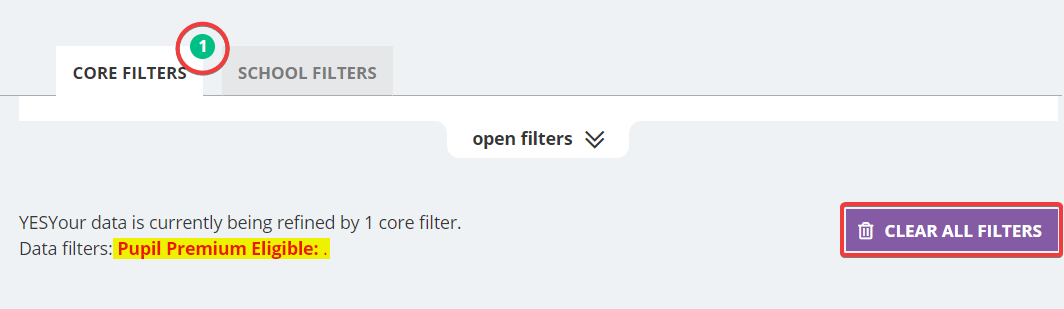
You will see a little number icon, informing you how many filters you have currently in use. There will also be some red text at the top of the page (highlighted below), informing you which exact filters you are currently using. To remove all filters and return the page to its default format, click the purple 'clear all filters' button.
Things to Note:
- Filters, by default are set to 'ALL'. This indicates that the attribute is not currently being filtered, and your data tables are displaying all your pupils.
- By setting an attribute to 'YES' you will filter out all data other than the attributes selected. Your data tables will only show the children who ARE in that group.
- By setting an attribute to 'NO' it will exclude the selected data from the attributes selected. Your data tables will only show the pupils who are NOT in that group.
- You can apply as many filters as you like at the same time, so if for example you need to look at your 'pupil premium boys', simply set both options to 'yes' and press 'Go'.